Why does one need to make a bootable USB on a Mac? Requirements to create a bootable installer How to download the macOS installer Prepare USB drive How to create a bootable installer for macOS
Why does one need to make a bootable USB on a Mac?
You need the help of a bootable USB installer to install the latest macOS beta on your Mac. There are also instances where you will be required to use a bootable USB installer for macOS if your Mac doesn’t boot up or if you want to downgrade the macOS version. You can also use the USB bootable drive to create a dual boot Mac with two versions of macOS. Now that we know why we need to create a bootable installer for macOS, let’s look at its prerequisites.
Requirements to create a bootable installer
Before you start the process of making macOS Ventura bootable USB flash drive installer, you have to make sure you got these things:
Mac to install the macOS: As you can guess, you need a Mac to run the bootable USB installer we will create. USB drive with more than 15GB storage: Usually, macOS bootable installer file size measures around 12-14GB, and it’s always safe to consider a USB drive with 16GB or higher storage, especially if you don’t know the file size of the macOS installer. Internet connection: You need a good internet connection to download the bootable installer file. Installation file: And lastly, the star of our show: macOS installer. I have mentioned the steps for downloading and installing the macOS installer.
How to download the macOS installer
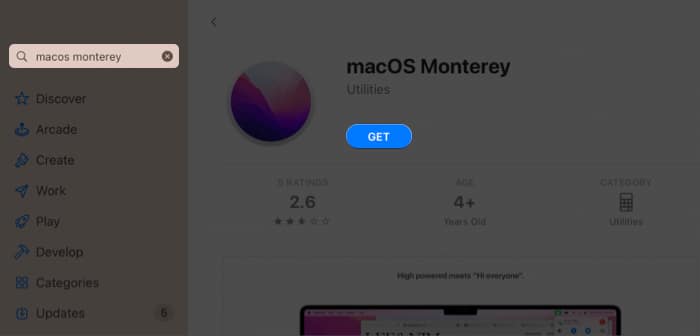
If you are planning to download macOS Ventura Developer Beta, I have already mentioned its steps. But if you plan to download previous versions of macOS, you can download them from the Mac App Store. All you have to do is: You can get the installer files from macOS Monterey to macOS High Sierra from the Mac App Store. Note: Before you download the macOS installer, make sure your Mac supports the versions you download.
Prepare USB drive
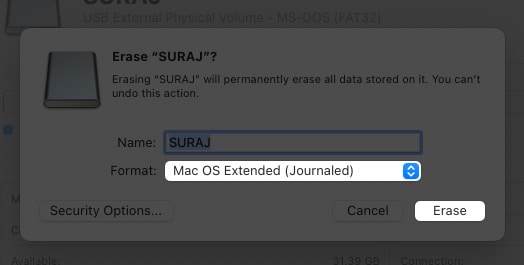
Before you transfer your USB drive to a macOS bootable installer, you must prepare it by clearing all the data. So better transfer the files anywhere if it is important to you. After that:
How to create a bootable installer for macOS
Now that you have prepared your USB drive and have downloaded the installer file, it’s time to create a bootable drive for macOS. There are two methods, and we will be looking at both.
1. Using Disk Drill
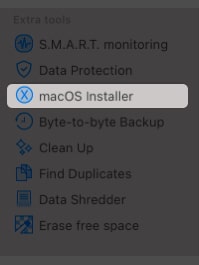
Disk Drill is a recovery utility application for macOS. You can use this application to create a USB bootable installer. But before that, you have to download and set up Disk Drill. Once done, turn your USB into a bootable drive. For that: That’s it! You can now use the USB to boot your Mac with the macOS installer.
2. Via Terminal (createinstallmedia commands)
Try the Terminal method if you don’t want to use any third-party applications to make a macOS bootable USB drive. This would prevent your dependence on other apps. All you have to do is: Note: Before you copy-paste the code, ensure the installer file is inside the Applications section, and the MyVolume in the codes refers to your flash drive’s name. That’s it! Whether you are an expert or a beginner in jumping between macOS versions, there will always be some doubts while creating a macOS USB bootable drive, and with this guide, I have made sure to help you with the same. What do you think of the recent macOS features? Share your thoughts in the comments below. Want more macOS tips and tricks? Here’s some:
How to format USB drive on Mac Wi-Fi not working on Mac? How to fix it How to turn on Low Power mode on your Mac How to determine file system of external drive on Mac